When writing documents in LaTeX, you often need horizontal lines to visually separate sections, create form-like layouts, highlight titles, or structure content.
Unlike word processors, LaTeX does not rely on manual drawing tools; instead, it provides several commands that generate horizontal lines with different behaviors.
This guide explains the most common commands used to create lines in LaTeX and when each method is most appropriate.
Using \rule for Customizable Lines
The simplest way to create a horizontal line is with the \rule[raise-height]{length}{thickness} command, allowing customization of length and thickness.
An optional argument adjusts the vertical position—positive values move it up, negative move it down.
To draw a line matching the paragraph width, use \textwidth. Adding \noindent improves the appearance.
\par\noindent\rule{\textwidth}{0.5pt}
\documentclass{article}
\usepackage{lipsum}
\begin{document}
 \begin{center}
   \verb|Without using \noindent|
 \end{center}
 \lipsum[1][1-3]
 \par\rule{\textwidth}{0.5pt}
 \par
 \lipsum[1][1-3]
 \begin{center}
   \verb|Using \noindent|
 \end{center}
 \lipsum[1][1-3]
 \par\noindent\rule{\textwidth}{0.5pt}
 \par
 \lipsum[1][1-3]
\end{document}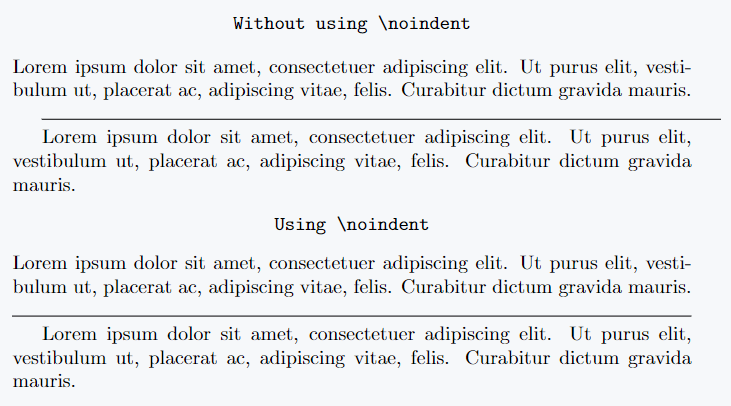
Using \hrule for Simple Lines
The \hrule command requires no arguments and is typically used between paragraphs. To add spacing above and below, use \vspace{}.
\documentclass{article}
\usepackage{lipsum}
\begin{document}
 \lipsum[1][1-3]
  \vspace{4pt}
    \hrule
  \vspace{4pt}
 \lipsum[1][1-3]
\end{document}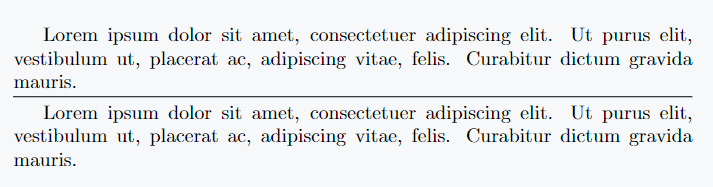
Using \line for Adjustable Line Lengths
The \line(x-slope,y-slope){length} command allows for sloped or horizontal lines. For a line, use (1,0). Centering can be done with the center environment.
\line(x-slope,y-slope){length}
\documentclass{article}
\usepackage{lipsum}
\begin{document}
 \lipsum[1][1-3]
 \begin{center}
    \line(1,0){340}
 \end{center}
 \lipsum[1][1-3]
 \begin{center}
   \line(1,0){70}
 \end{center}
\end{document}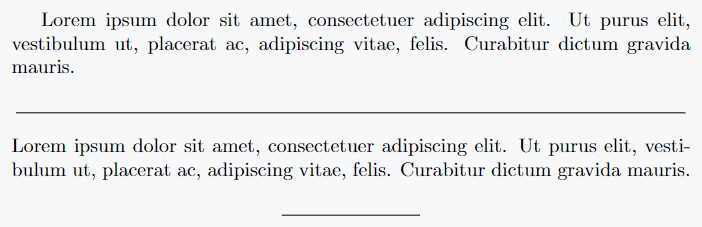
Using \hline for Simple Table-Like Lines
The \hline command is another option, but it lacks customization. To adjust spacing, use \vspace{}. Double lines can be created by using \hline twice
\documentclass{article}
\usepackage{lipsum}
\begin{document}
 \lipsum[1][1-3]
 \vspace{5pt}
   \hline
 \vspace{5pt}
 \lipsum[1][1-3]
 \vspace{5pt}
 \hline
 \hline
\end{document}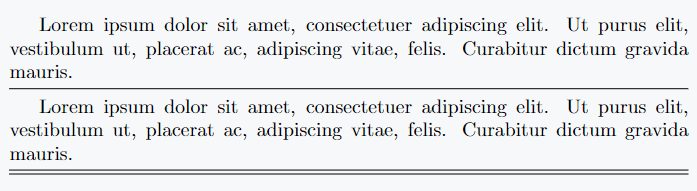
Using \hrulefill for Inline Horizontal Lines
The \hrulefill command extends to fill available space in a line. It is useful for titles or decorative elements. Using \par forces the line onto the next line, and \noindent improves the appearance.
\documentclass{article}
\usepackage{lipsum}
\begin{document}
  \begin{center}
    \verb|\hrulefill use for Title|
 \end{center}
 \noindent\hrulefill Title \noindent\hrulefill
 \begin{center}
    \verb|Without using \par|
 \end{center}
 \lipsum[1][1-2]
 \noindent\hrulefill
 \begin{center}
    \verb|Using \par|
 \end{center}
 \lipsum[1][1-2]
 \par\noindent\hrulefill
\end{document}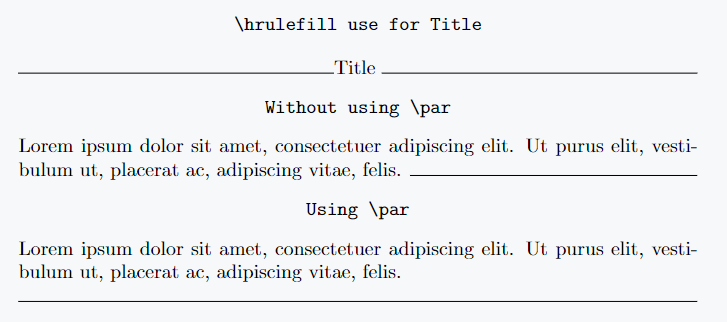
Using \dotfill for Dotted Lines
The \dotfill command functions like \hrulefill but creates a dotted line, commonly used for visual separation in documents.
\documentclass{article}
\usepackage{lipsum}
\begin{document}
 \begin{center}
    \verb|\dotfill use for Title|
 \end{center}
 \noindent\dotfill Title \noindent\dotfill
 \begin{center}
    \verb|Without using \par|
 \end{center}
 \lipsum[1][1-2]
 \noindent\dotfill
 \begin{center}
    \verb|Using \par|
 \end{center}
 \lipsum[1][1-2]
 \par\noindent\dotfill
\end{document}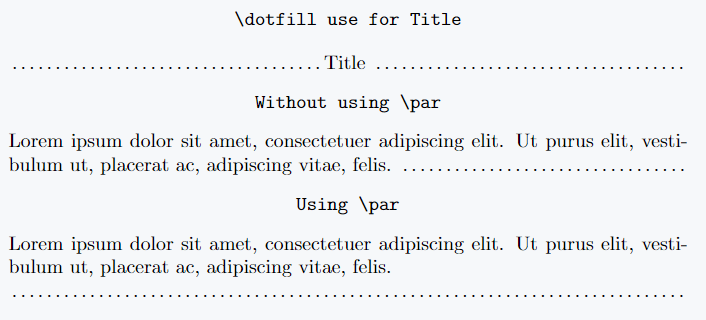
Conclusion
LaTeX provides several commands for creating rules and separators in documents. Commands such as \rule offer detailed control over size and thickness, while \hrule quickly produces a full-width divider.
For layouts that require flexible spacing, \hrulefill and \dotfill automatically extend across the available area. Meanwhile, \hline and \line are typically used within tables or structured environments.
Jidan
LaTeX enthusiast and physics learner who enjoys explaining mathematical typesetting and scientific writing in a simple way. Writes tutorials to help students and beginners understand LaTeX more easily.